Skip to content
Santiam SnolabSantiam Snolab
  • Menu
  • Home
  • The Process
  • Get Started
  • Customized Ski Graphics
  • About
  • Covid-19

Step 1: Customized skis and snowboards

performance designed by us, built by you

(120 minutes, performed by Snolab)

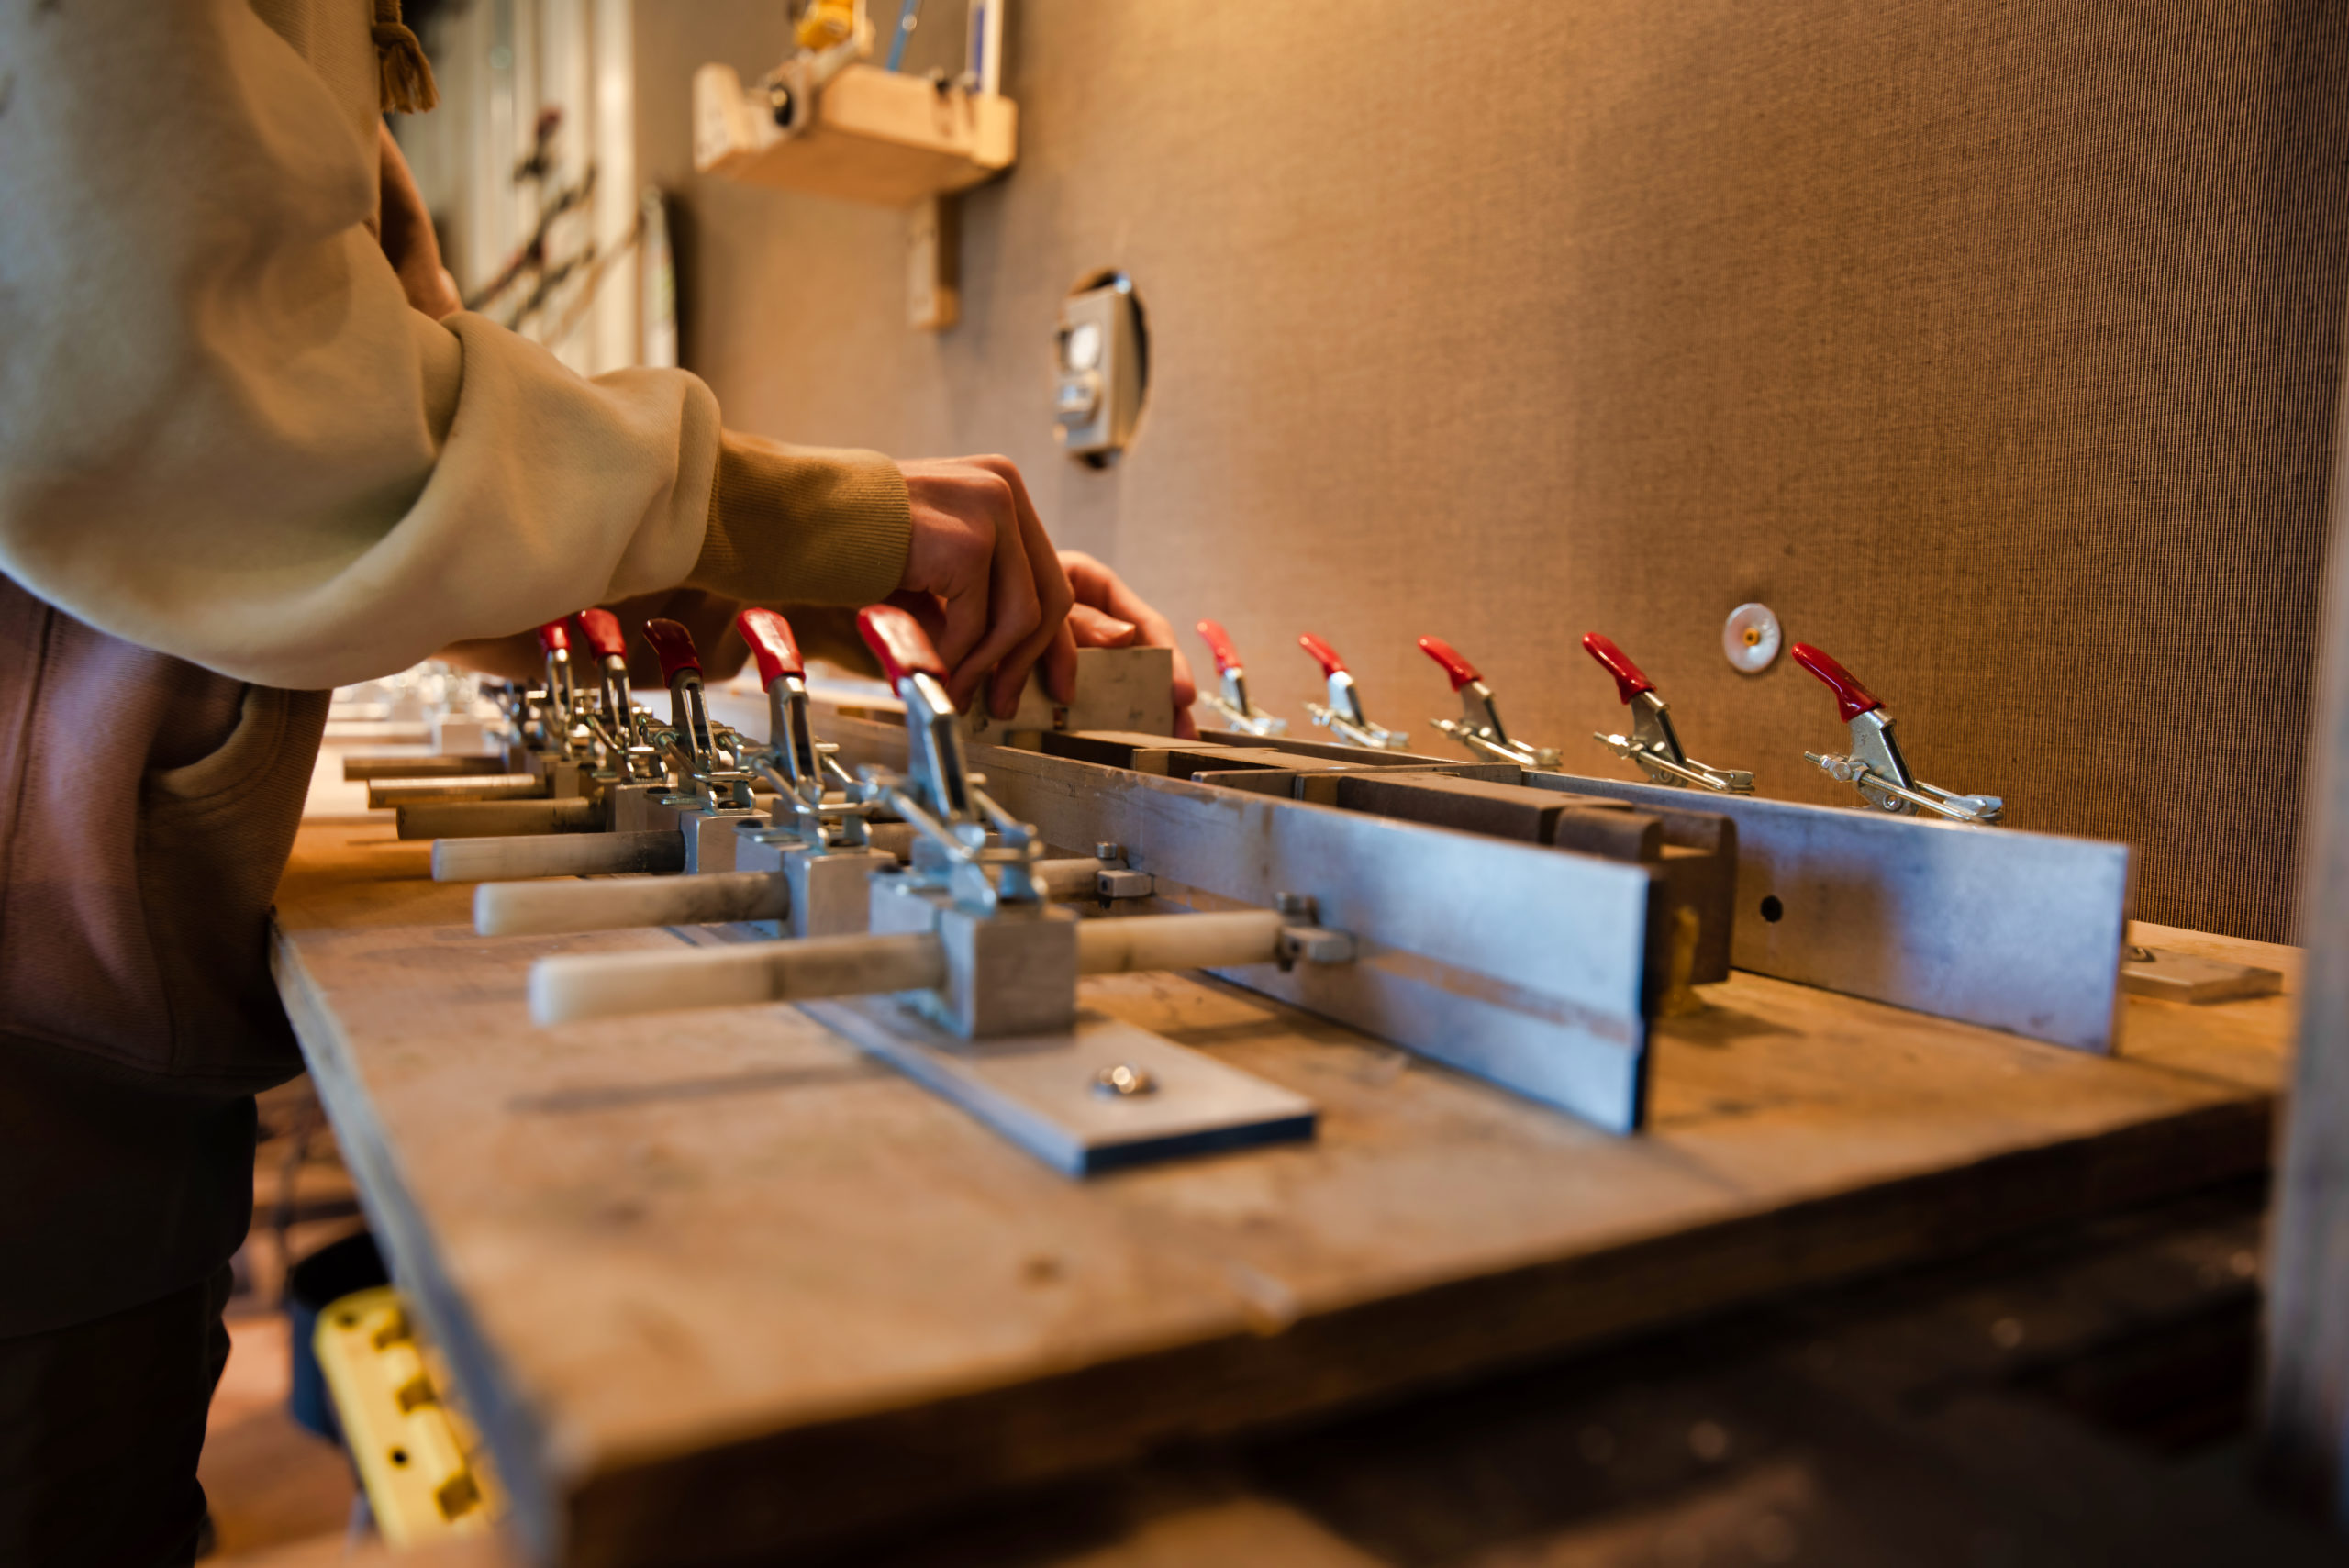
It all starts with you: we’re dedicated to helping you build amazing skis or a tricked out snowboard. To do this we put in a lot of prep work so that your workshop day goes smoothly.

So, how do you like to slide on the snow? Our proprietary custom ski / snowboard software allows us to build almost any shape. We’ll also customize the flex signature by using various weights of fiber-glass, carbon-fiber, or even aramid (kevlar).  Moguls, carving, freestyle: we can build any type of ski or snowboard.

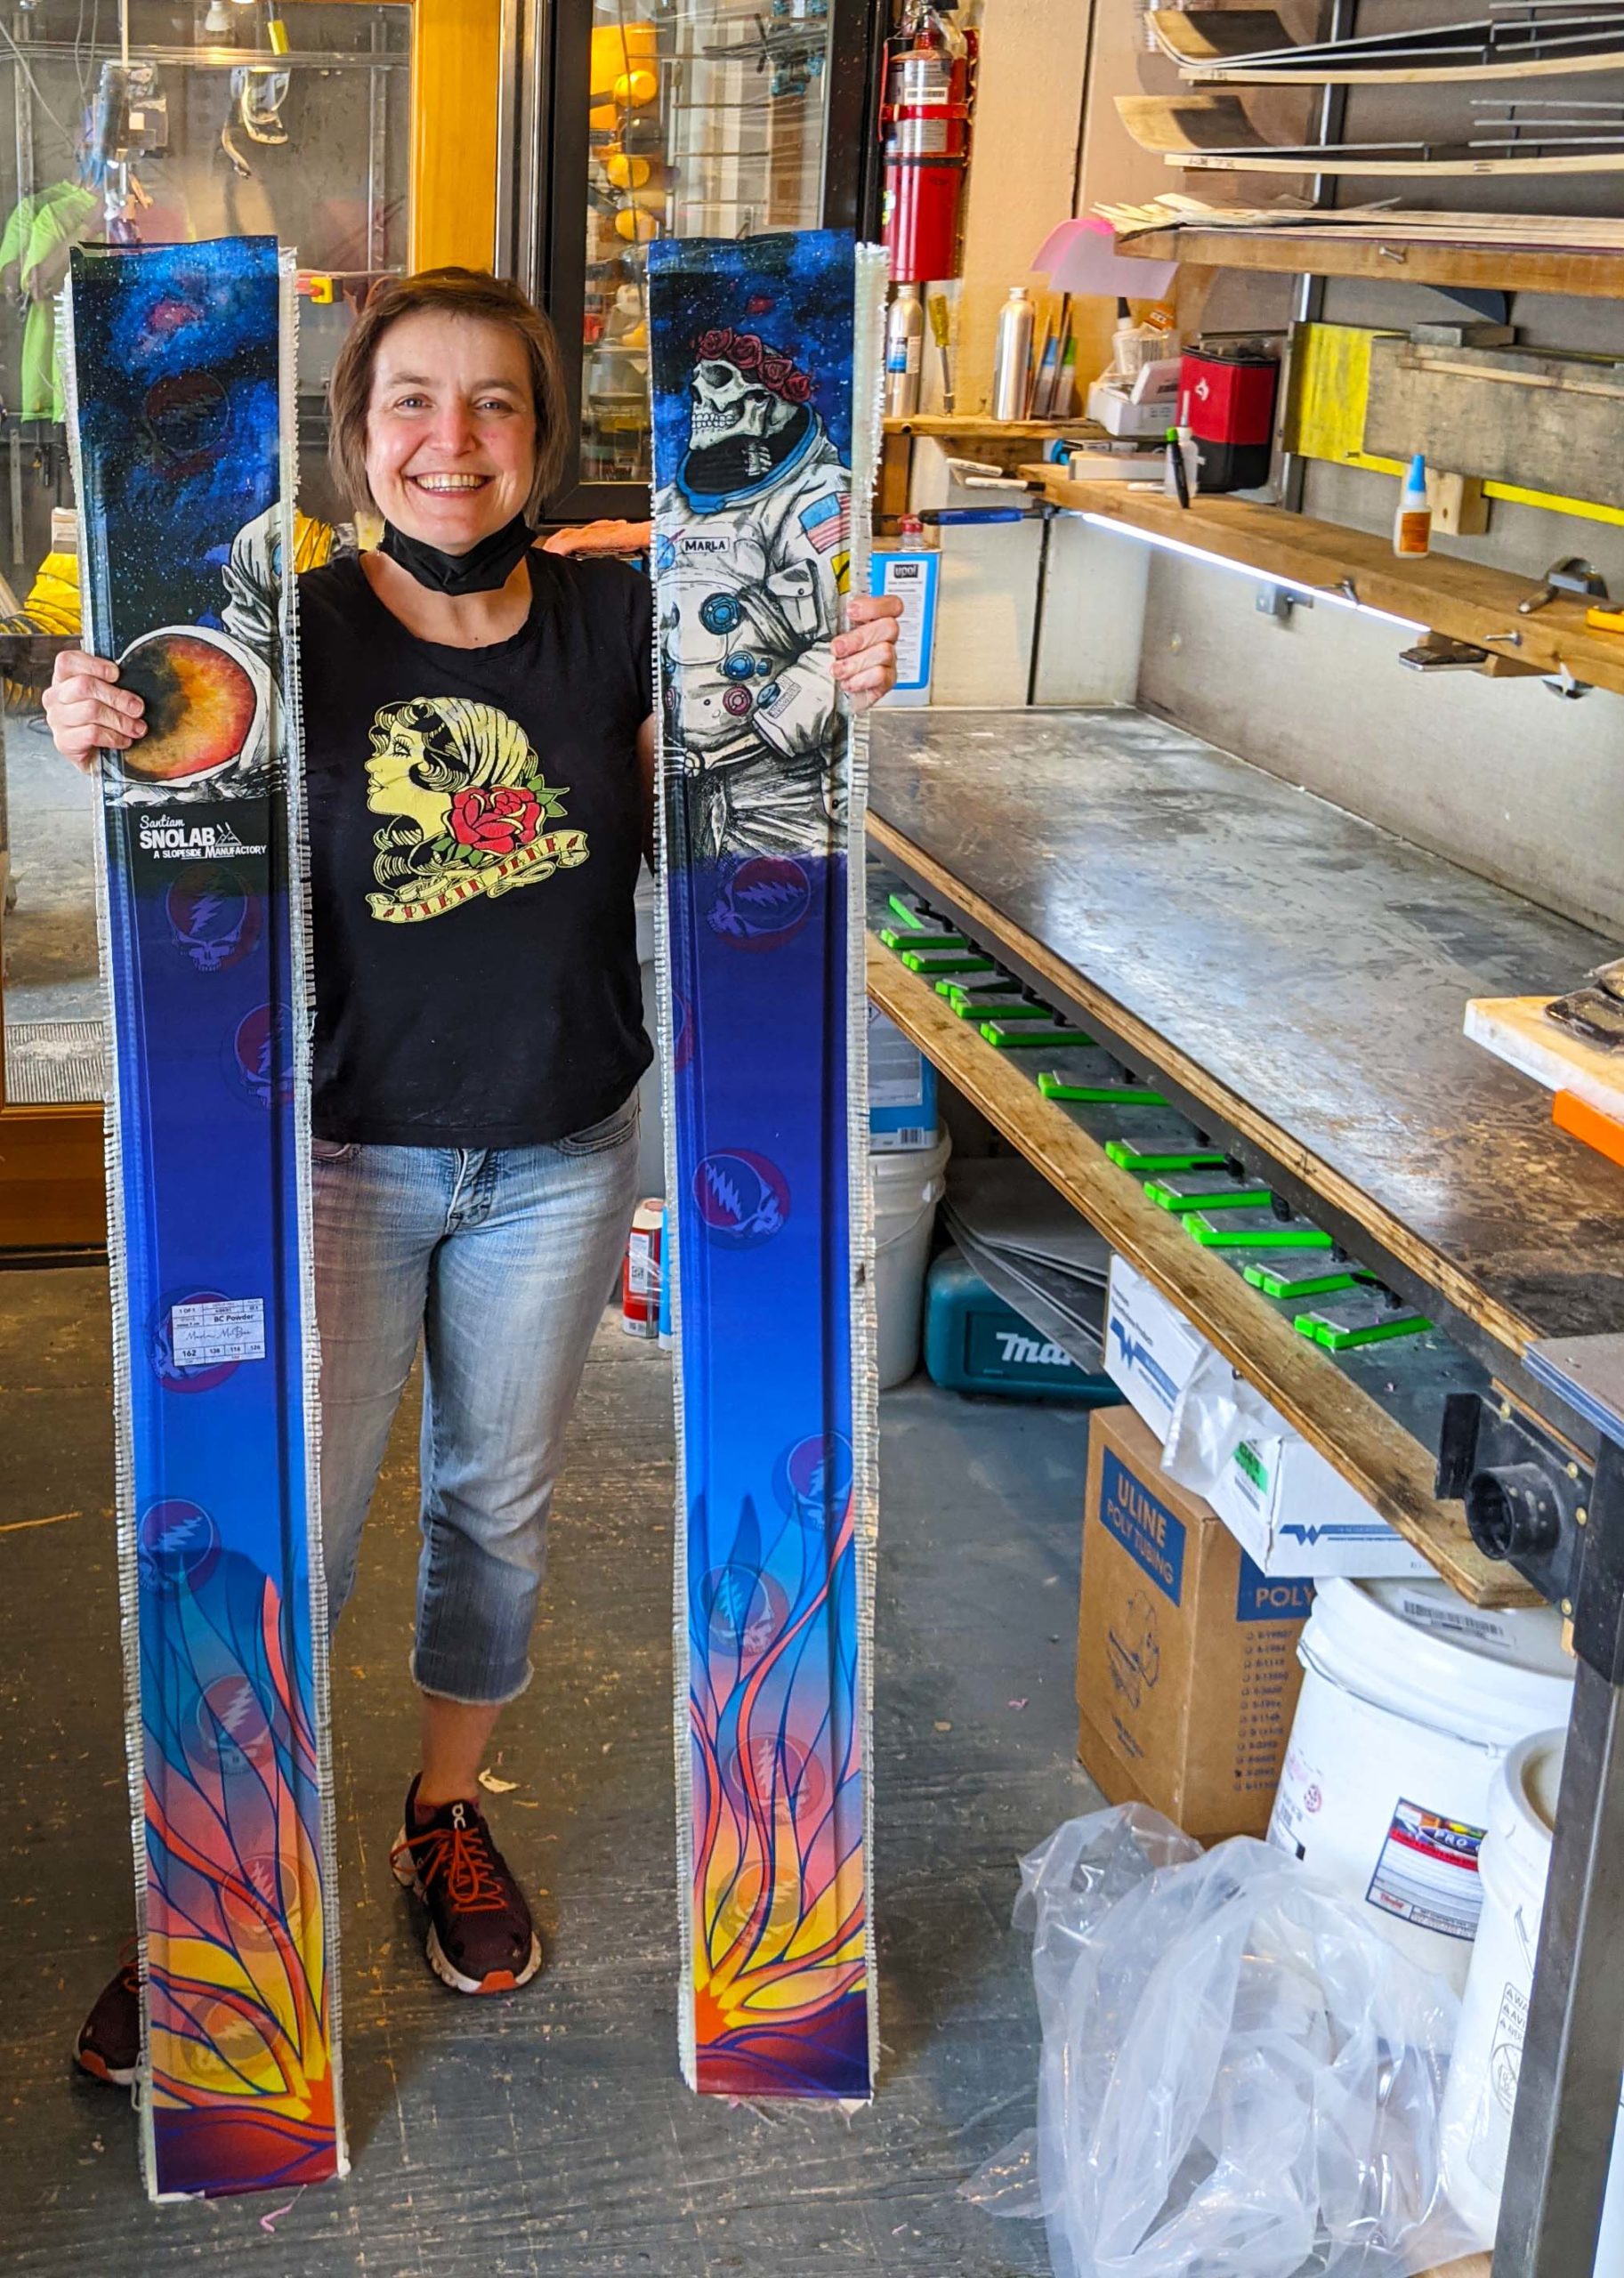
After we have your profile built, we’ll send you a Ski Performance Design based upon your input.

Sidecut? Camber? Rocker? Turnability? Flex?!?  What does it all mean?  

Don’t worry, you don’t need to know all this stuff, that’s what we’re for.  You can simply tell us the type of terrain you enjoy and we’ll build you out several options to choose from.

Find Availability

Step 2: Customized graphics

Make your gear stand out

(180 minutes, performed by Snolab)

What will your customized skis or snowboard look like? Get excited, you’re about to own some sick stix! We include 2.5 hours of custom graphic work and we know you’ll be thrilled with the options.

Did you say several design options? 

Yes, we’ll build out 3 different designs based upon your theme submissions.  

What do you mean theme? 

Give us some ideas about what you like. Colors, images, etc and we’ll design several completely different variations based upon your input.

Register today

PREP TIME

(180 minutes, performed by Snolab)

Prior to your workshop day, we do all the work to get everything ready so that your workshop day moves at an efficient and brisk pace.  There’s a lot of jigs to set, fiberglass to cut and tooling to prep.  Each day before a workshop we run though a detailed itemized checklist to ensure your smooth sailing on workshop day.

Step 3: Shaping the Core

Workshop Day!

(45 minutes)

Once your fully customized skis or snowboard is designed and approved it’s time to get to work.  We’ve built multiple jigs that allow you to perfectly replicate your design in the real world.  You don’t have to be an expert carpenter, or have any construction skills for that matter, to build amazing skis.  In about 15 minutes you’ll see the cores of your skis take shape and come to life. 

  • First you use a straight router bit with guide bearing to remove the excess
  • Then you use a 30 degree chamfer bit to create the angle
  • After that you’ll router cut your P-tex to match 
  • Finally, we’ve designed yet another custom jig that allows you to notch the core on the bottom to create a space for the metal edges.
Get Started

Step 4: Edge Assembly

(60 minutes)

Other custom ski builders typically just clamp the metal edges around the P-tex and superglue it down.  Not us, we’re perfectionists. We’ve built yet another jig to perfectly align your metal edges to the P-tex and core. You’ll align, measure and cut your metal edges to perfectly fit your P-tex. Once your edges are snuggly fit against the P-text, using the adjustable jig, you’ll super glue them down? Don’t worry this isn’t what holds your skis together.  It’s simply the method used to keep the edge in place before the final step.

SIGN UP

Step 5: Tapering the Core

(30 minutes)

Ski cores come in one thickness, but you’ll need to thin the tips and tails to increase flexion.  We’ve built yet another customized jig to perfectly taper down your skis to match the flex pattern determined during the design phase. You’ll use a Dewalt DW735 with a helical carbide cutting head for absolute precision.

Register

Step 6: Scribing the P-tex tip and tails

(60 minutes)

Handmade skis and snowboards mean…you use your hands to build them.  A bit redundant, yes, but this is where you’ll use several different circular templates to draw out your tip and tail radii. And…dare we say it…you may have to do a little math and geometry to tailor your ski shape to exactly what you like. We may even need to bring out the lasers for absolute precision.

Get started

Step 7: Wet Deck Assembly

(75 minutes)

It’s time to build your ski sandwich. Wet deck assembly is where you’ll layer fiberglass and epoxy together with your core and p-tex to create your gear.  During the performance design we determined your flex pattern; the flex pattern tells us what type of material, and how much, to use.  Most of the time it’s fiberglass, but it could be carbon fiber or even kevlar reinforcements under the bindings.  We use e-glass fiberglass that comes in two thicknesses: 24oz roving and 8.5oz cloth tape. This combination gives durability and a smooth looking finish on top. A two-part epoxy is used to completely saturate the fiberglass, just like in the commercial ski process.


Carbon fiber? Kevlar? These products are typically used in backcountry gear or hard core freestyle gear to lighten and strengthen.  They sound cool, but come at a cost.  Carbon fiber typically creates more chatter (less damp), but it is lighter, so if you’re skinning up a mountain this is something you may want.  Kevlar is used if you’re hucking off huge kickers to drastically strengthen the ski or board under your foot. Again, it’s strong, but less damp.

sIGN UP

Step 8: Vacuum Seal (press)

(20 minutes)

You’ve probably heard the term that skis are “pressed.” Commercial skis are pressed using a giant machine that takes up more room than our entire lab…and they cost anywhere from $20k-$200k. These presses typically use a mold that you insert your wet ski in and then they are pressed and heated into the shape of the mold.  If you’re making 500 pairs of the exact same ski, this is a great option.  If you’re customizing every single ski with a different shape, rocker/camber profile and flex pattern, this isn’t cost effective.


Instead you’ll place the skis onto a flexible ¼” aluminum cassette.  You’ll place the entire cassette and wet ski into a sealed bag and pull a vacuum with our custom built vacuum-oven. The vacuum acts as our “press” because we’ve removed all pressure from inside and we let mother nature’s atmospheric pressure do the pressing for us.  But, you’re not done yet.

SIGN UP

Step 9: Heat Curing Your Custom Skis

(60 minutes)

It’s time to put your puppies in the oven. Traditional ski presses shape and heat up the fiberglass and epoxy until it dries and holds the shape of the mold.  Using our cassettes and rocker/camber racks we simulate the exact same process by pulling the vacuum and then baking your skis or snowboard for approximately 60 minutes.

Most customers describe this final process as opening a Christmas present when they were a kid.  After they have baked, you’ll remove them from the rack and vacuum bag and get to see the near final product.    

It’s the near final product b/c there are a couple more steps that we take care of for you. For now, you’re done for the day. Kick back and admire your brand new sick stix.

Let's Get Started

Finalizing Your Custom Skis & Snowboards

This part we typically do for all clients. Your skis are still in a rectangular shape (coupon) when they come out of the oven. They also are 90% cured but need about 12 hours to finish off the curing process. The next day we’ll cut out your skis or snowboard to match the tip and tail profile you designed.  

There is an extensive amount of sanding, grinding, and jigsawing involved in the process and we’re working with fiberglass dust, which is not the best thing to breathe and it’s quite annoying on your skin.  We have special ventilator masks and a lot of experience on this part, which is why we typically handle it for all clients.  If you wanted to cut out your own tips and tails we’ll gladly comply, but this is probably the most critical time when you could compromise your new gear as one single flub up results in you having to start all over from scratch.

Structuring (30 minutes performed by Snolab)

After your new custom skis have been sanded down to perfection, we’ll run them through the Reichmann Profi B Vario, tuning machine. This professional commercial grade machine will handle edge grinding, pre-grinding and structuring. Giving your new gear a professional finish.  Sorry, this one is NOT a step our clients can do as the Reichmann is a very expensive piece of equipment that requires a special training to use.

Clear Coating  (30 minutes performed by Snolab)

The final step is to give your new skis and snowboards some flash.  We use a commercial grade automotive clear coat and a professional Fuji Spray clear coat machine to give your gear a waterproof, transparent, hard-enamel finish.  Again, creating a perfect clear coat requires a lot of practice on the Fuji Spray, so we typically handle this part for the clients as well.  Also, it requires a special ventilator for safety.  But, as you can see, the results are spectacular.  

Optional: Binding mounting

Hoodoo’s professional ski tech staff can also mount your bindings if you so choose.  We typically offer a couple of different bindings, near cost, and it’s free to have them mounted. You won’t find that deal anywhere else.

Your time commitment to amazing customized skis or snowboards:

6 hours and 10 minutes

Our total time invested: 13 hours and 40 minutes

Get started today
Copyright Santiam SnoLab 2021 ©

Login

Lost your password?